Applies to
- Pro
- Business
- Enterprise
Capabilities
Who can use this capability
To import data from Smartsheet, you must:
- Be aLicensed User
- You must be a licensed sheet老板,Admin,orEditorto import sheets and reports.
Import files to create new sheets
Understanding sheets or reports imports to Smartsheet
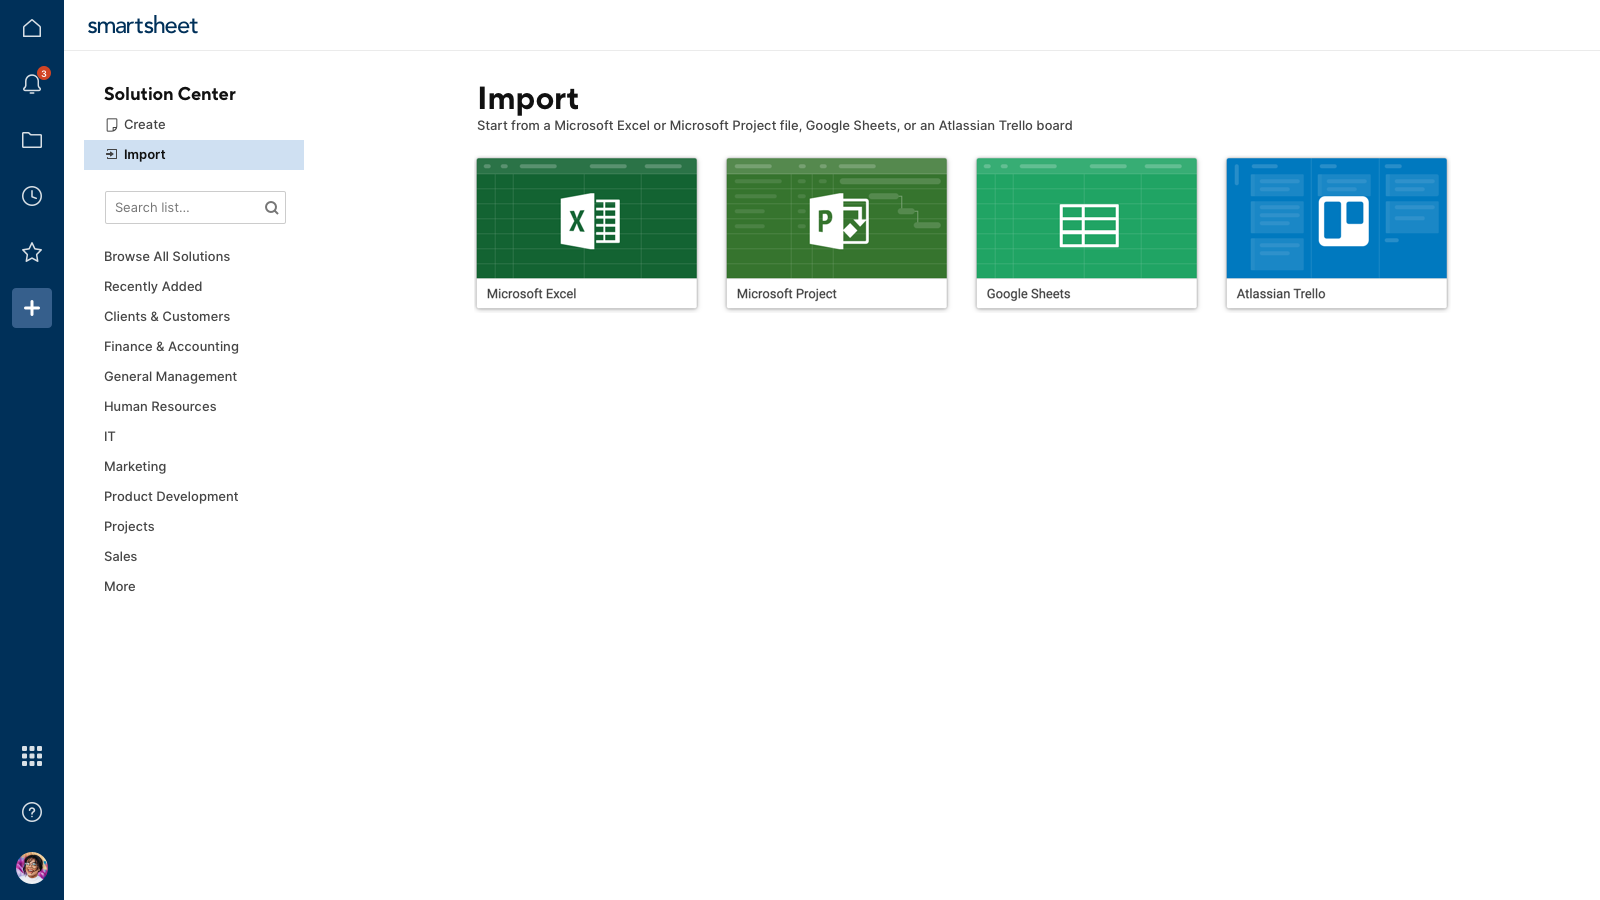
In the Smartsheet app, you can import any sheet or report from the following formats:
- Microsoft Excel
- Microsoft Project
- Google Sheets
- Atlassian Trello board
提高自动化of your data imports, we have introduced two entry points within your sheets:
- From the top navigation bar, selectFile>Import- You will discover four options to import your data and four options for automating your data import. For more information on automating your import, seeCreate an upload workflow in Data Shuttle.
- Also, at the top navigation bar, you can select theConnectionmenu and chooseCreate workfloworManage workflowsto manage your import automation directly from Data Shuttle.
Import will always create a newsheet. To bring data from other programs into an existingsheet, usecopy and paste.
Before you import
For successful import, files must meet the following criteria:
- The file cannot exceed 50 MB
- Up to 20,000 rows, 400 columns, or 500,000 cells can be imported at a time
- Microsoft Excel files must be in .xls, .xlsx, or .csv format and first tab of the workbook cannot be blank
- Microsoft Project files must be created in versions 2007, 2010, 2013, or 2016 and must be in .mpp, .mpx, .mspdi, or .xml format
Formulas are not preservedDue to the differences between Excel and Smartsheet formula syntax, formulas are not preserved on export.
To work around this, you can store formulas as text by removing the equal sign from in front of the formula and then save the sheet. Once you open the Excel file, you can add the equal sign back and modify the syntax to make the formula work in Excel.
Get started with your import
- On the left Navigation Bar, click theSolution Center(plus) icon and then clickImport.
- Select the source application that you're importing from.
Smartsheet will prompt you to locate and upload the file from your computer. - After your file has been uploaded, type a sheet name and select your Primary column for the sheet. (More on thePrimary column.)
- Click theImportbutton.

Your imported file appears as a new sheet onBrowsein the left panel.
You may need to make manual adjustments to the sheet after it's imported to get it to look and function the way that you want.
Some aspects of your imported item will not be retained on import. Common items that may require adjustments include:
- Capabilities that are not available in Smartsheet. These won't be included in the imported sheet—for example, merged cells, multiple sheets in a workbook, or cell borders.
- Drop-down lists for data validation will need to be re-created in Smartsheet. (For more information about data validation capabilities in Smartsheet, seeControl data entry and allow only specific values in a column.)
- If you import an Excel sheet or Google Spreadsheet that uses a formula that isn't supported in Smartsheet, an #UNPARSEABLE error will appear in place of the formula. For more information about formula errors, see公式错误消息.
- Images from an external file won't import.
Only the first (left-most) worksheet tab of an Excel workbook will be imported. Look at the very bottom of your Excel workbook to see if you have multiple tabs.
Note:If your imported sheet does not contain the data you were expecting, there may be hidden worksheets in your Excel workbook. To import the correct data, un-hide all hidden worksheets and move your desired worksheet to the first position.
Microsoft Project has some features, such as constraints, that are not supported in Smartsheet, and may cause rows to be out of order when importing .mpp files. To resolve this, try saving the .mpp file as .xml and importing the new .xml copy. If the issue persists, reach out to our support team.
Import multiple sheets from a Microsoft Excel workbook
Only the first (left-most) worksheet tab of an Excel workbook will be imported. Look at the very bottom of your Excel workbook to see if you have multiple tabs.
If you have multiple tabs you'd like to import to Smartsheet:
- Import the workbook into Smartsheet once to create a new sheet, as described above.
- Go back to the Excel file and move a different tab into the left-most position by clicking on it and dragging it to the left.
- Save the Excel file, and import it to Smartsheet again. This will create a new sheet based on the information in the tab you just moved into the left-most position.
- Repeat the process until you've created a sheet for each tab in the workbook.
- In Smartsheet, consider moving all of the sheets into a folder or workspace for organizational purposes.
What to expect when you import an Atlassian Trello board
If you’re importing an Atlassian Trello board, you can import up to 5,000 cards or 50 lists. If your cards include cover images, note that there is a cumulative 10 MB limit for importing these image files.
Select the board that you want to import and clickOK.A new sheet is created in Smartsheet with the imported data. By default, the sheet will be displayed in Card View.
When you import an Atlassian Trello board, the following columns will always be created in Smartsheet (you'll see these columns in Grid View):
- Task NameFields in this column will display the names you used for the cards in Trello. It will be formatted as a text/number column.
- ListThis column will contain all of the list names from the Trello board. List names will appear as column set names in Smartsheet's Card View.
- Members本专栏将包括所有的名字Trello board members (the people with whom you shared your Trello board) in a dropdown list.
- Due DateIf you've set a due date for a card, it will appear in the field in the Due Date column. This column will be formatted with a date column format.
- DescriptionDescription text from the Trello board will be included here. This column will be formatted with a text/number column.
Additional columns and information on the cards will be included depending on what was included in your Trello Board.
Archived cards will not be imported from Trello.